Why use this system?
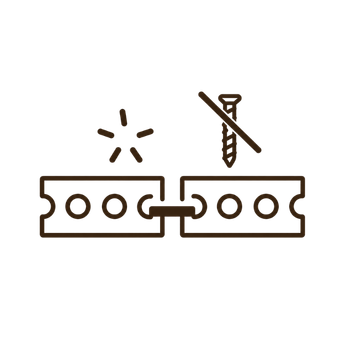
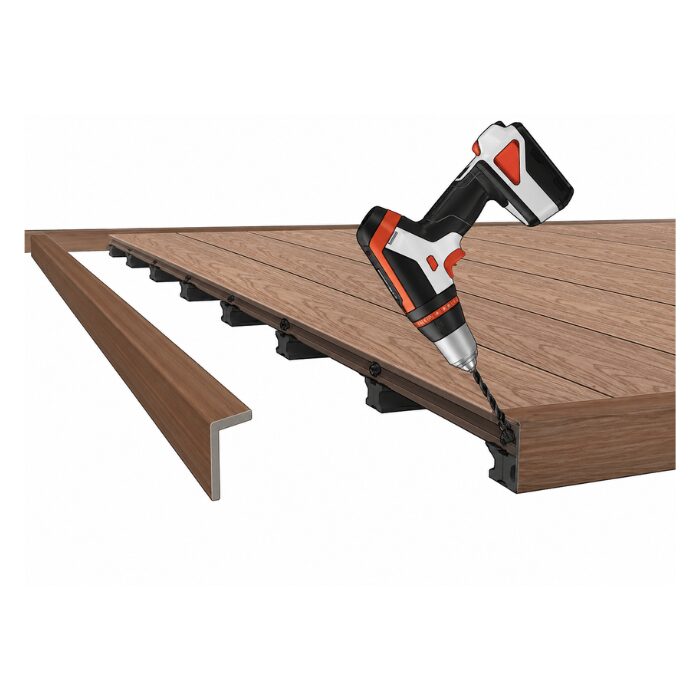
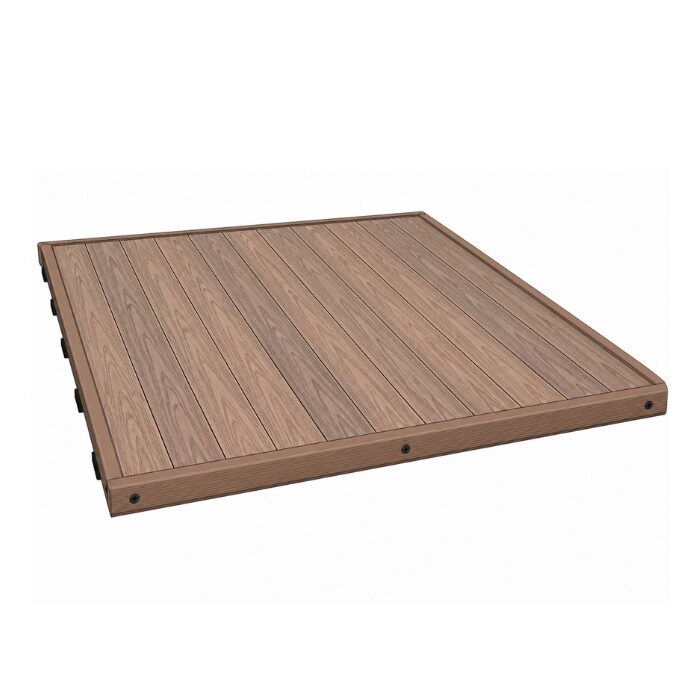
The hidden clip system allows WPC composite planks to be installed without visible screws on the surface.
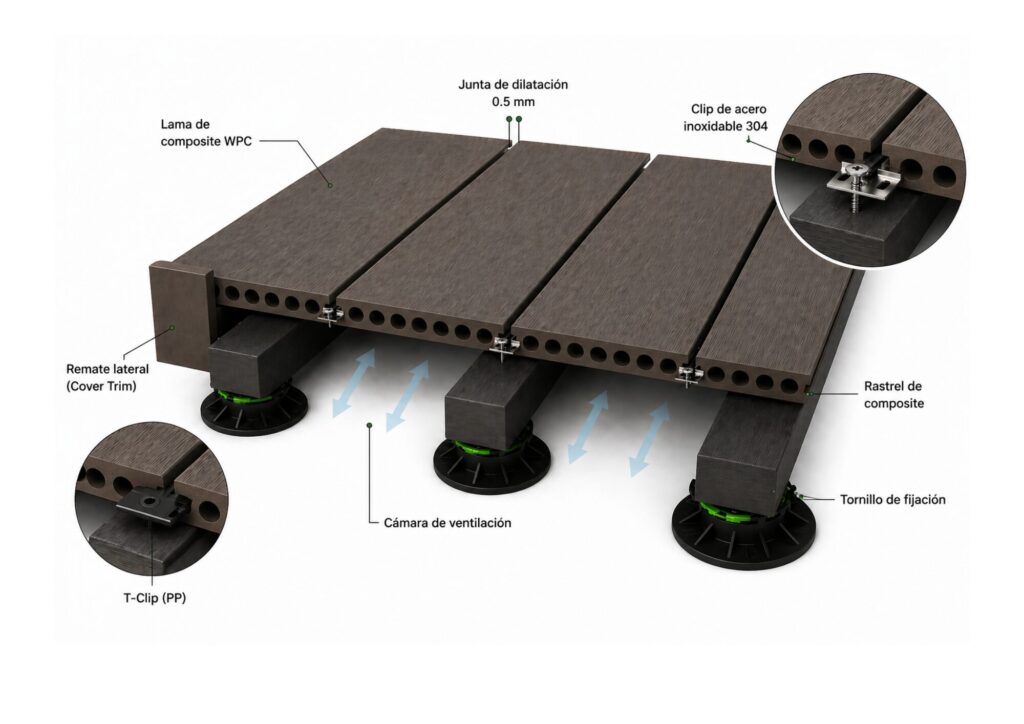
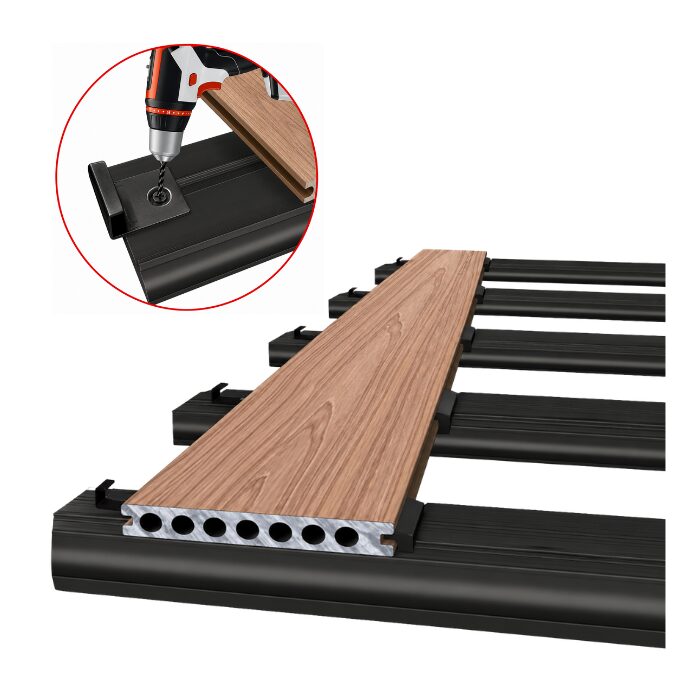
The clips are inserted into the side groove of the slat and fixed to the batten, ensuring a firm, uniform and aesthetically clean hold.
The base should be firm, stable, and perfectly level.
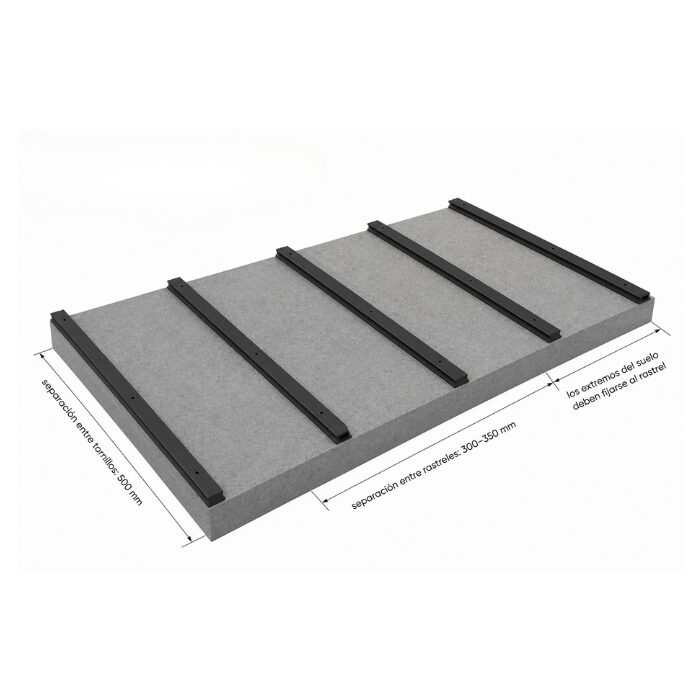
The battens should be placed 300–350 mm apart and fixed with screws every 500 mm.
It is mandatory to leave a minimum separation of 15 mm between the structure and any wall or fixed obstacle to allow the expansion of the material.
Proper ventilation under the platform must be ensured to prevent moisture build-up and ensure the durability of the system.
A slight slope outwards is recommended to facilitate water evacuation.
The slats should be installed exclusively with the recommended clips and screws, with no visible fixings on the surface.
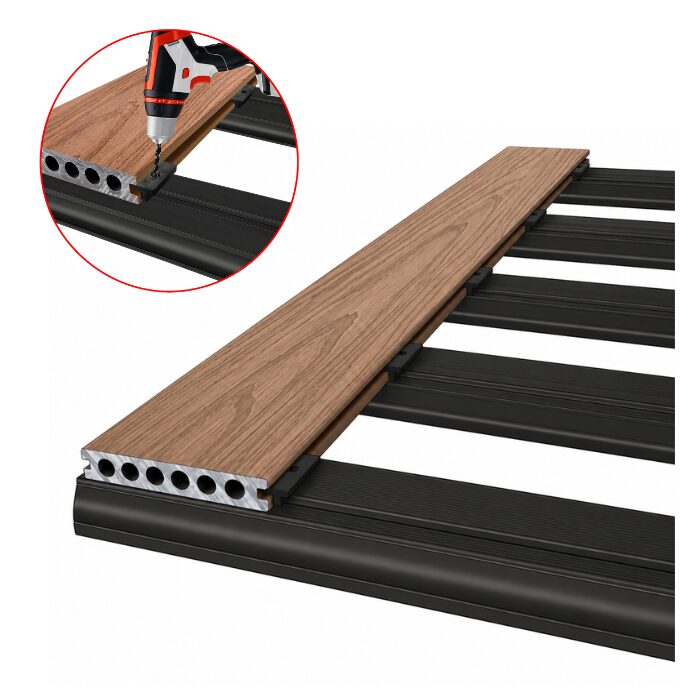
It is advisable to pre-drill before screwing to ensure precise fixing and avoid damage to the material.
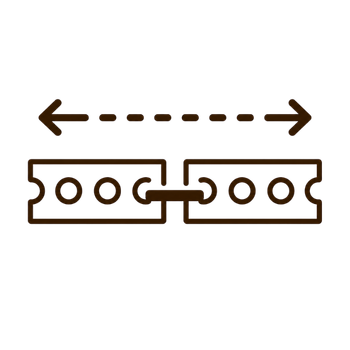
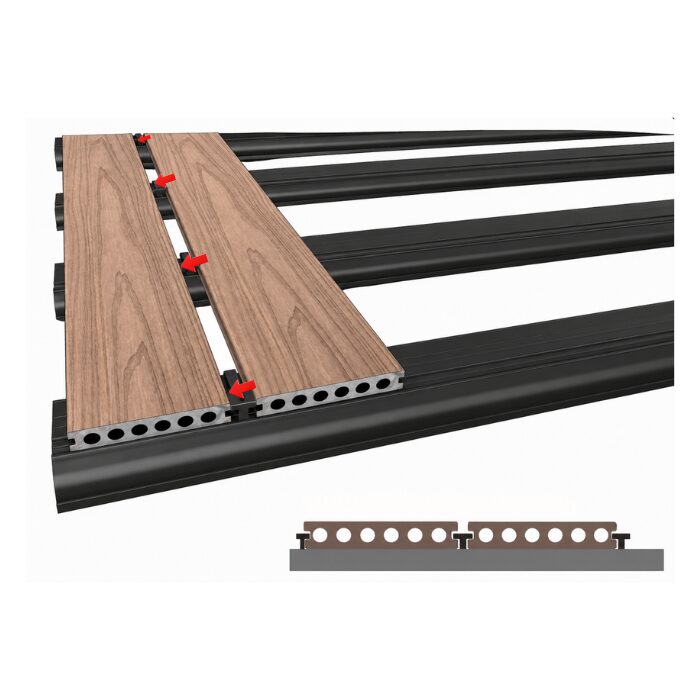
The clip system automatically maintains the proper separation between slats, allowing their natural expansion.
The ends of each slat must always rest on a batten to ensure stability and structural strength.
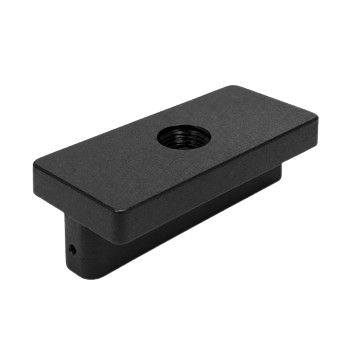
T-Clip (PP)
Intermediate fastening element that joins slat and batten invisibly.
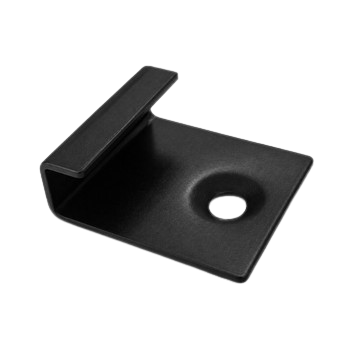
Start/End Clips
Allows to fix the first and last slats.
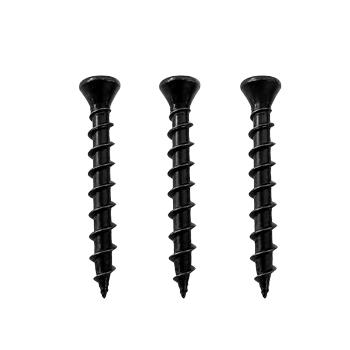
Specific screws
Guarantees firm and durable support.
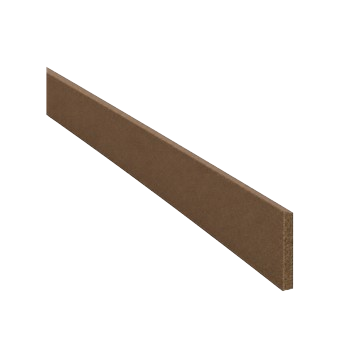
Side trim (Optional)
Finishing profile for a professional aesthetic finish.
Invisible installation without surface screws
Allows natural longitudinal expansion
High resistance outdoors
Fast and efficient system
Clean and professional finish
STEP 1
Fixing of the base structure ensuring leveling and correct separation.
STEP 2
Placement of the starter clip at the end to position the first slat.
STEP 3
Insertion of the T-Clip into the side slot and attachment to the batten.
STEP 4
Slat fitting over the T-Clip, ensuring alignment and separation.
STEP 5
Repetition of the process while maintaining a uniform installation.
STEP 6
Side profile placement for a clean finish