Why use this system?
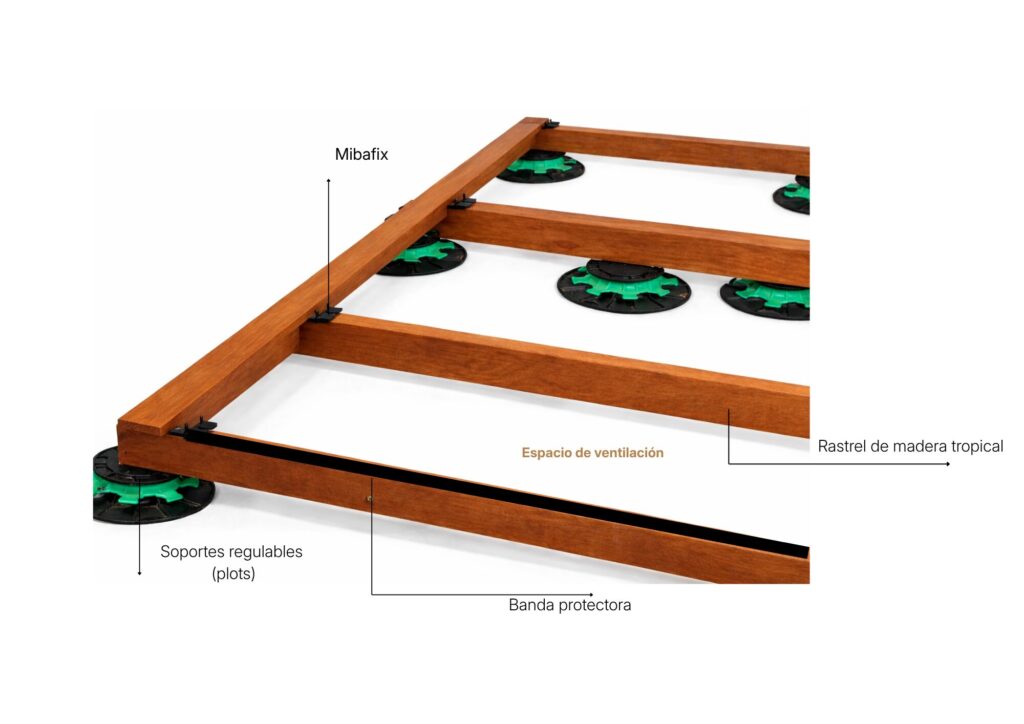
The MibaFix system has been designed for those looking for a terrace without visible screws, with a clean aesthetic and a secure fixation.
It allows a fast, aligned and professional installation, optimizing assembly times and guaranteeing a correct natural expansion of tropical wood.
Ideal for projects where detail makes the difference.
Clean, dry, level subfloor with humidity ≤ 12%.
Possibility of levelling with mortar, wedges or plots.
Ensure ventilation between the floor and slats.
Minimum slope of 1.5% towards the outside.
Spacing between slats of 4–5 mm.
Acclimatize the slats 48 hours before installation, without direct contact with the ground.
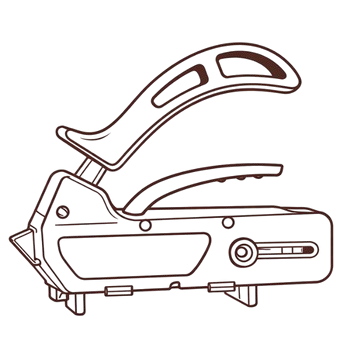
Use specific hardwood tools .
Always drill before screwing.
Use stainless steel screws.
Recommended: grooved slats on stairs or wet areas.
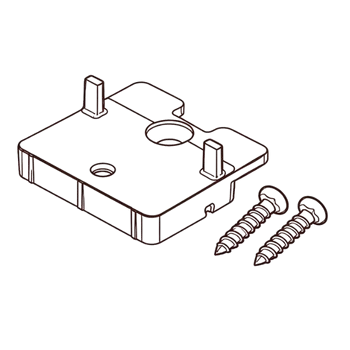
Clips MibaFix
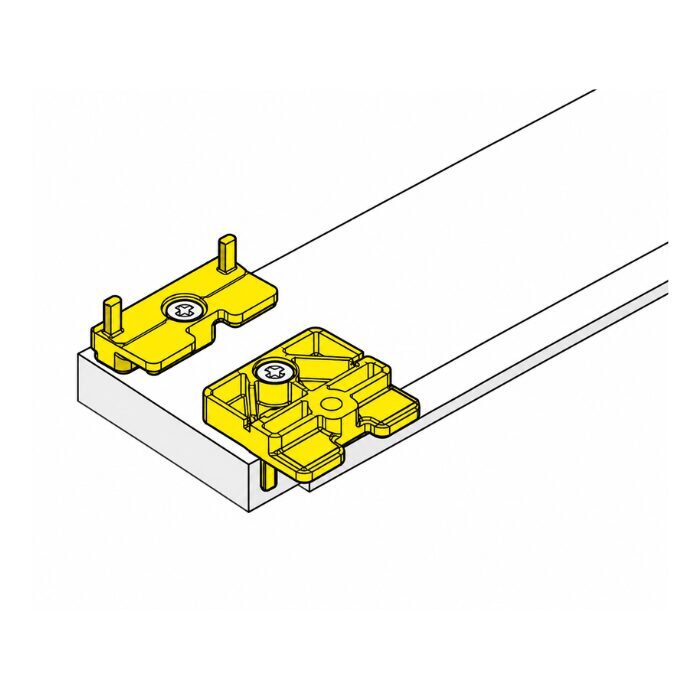
Invisible fixing system designed for lower slat fitting.
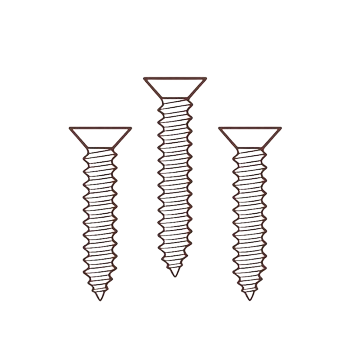
Stainless screws
High corrosion resistance and long durability.
Integrated separation system
Ensures a uniform distance between slats.
Completely invisible attachment
Faster and more accurate installation
Uniform spacing between slats
Optimal control of natural expansion
Professional and durable finish
STEP 1
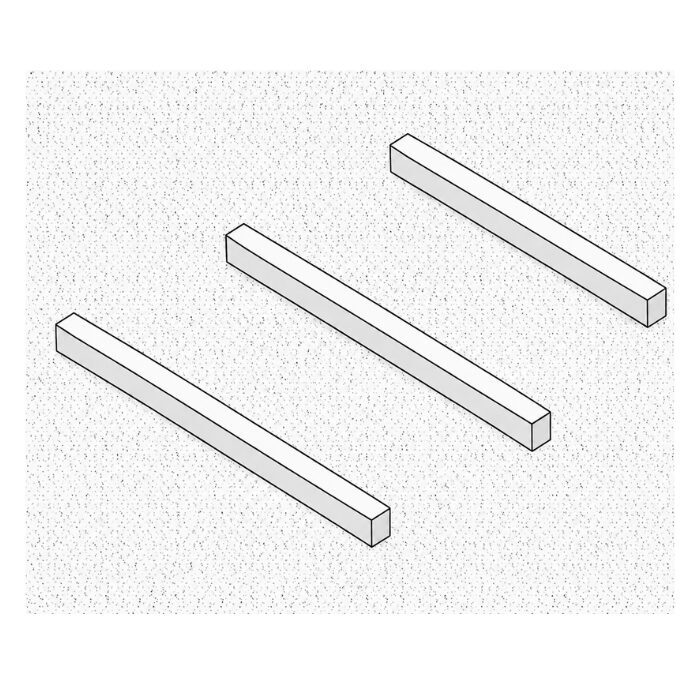
Construction of the substructure with suitable battens and correct separation according to the thickness of the slat.
STEP 2
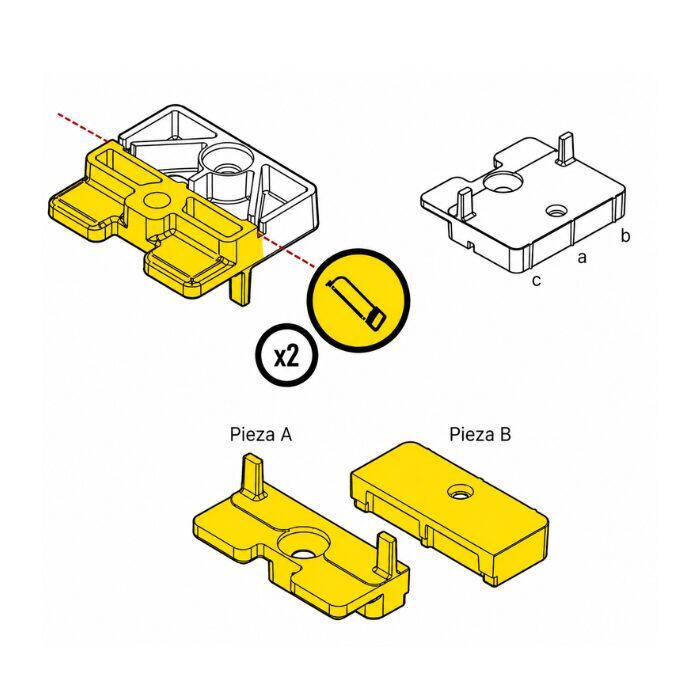
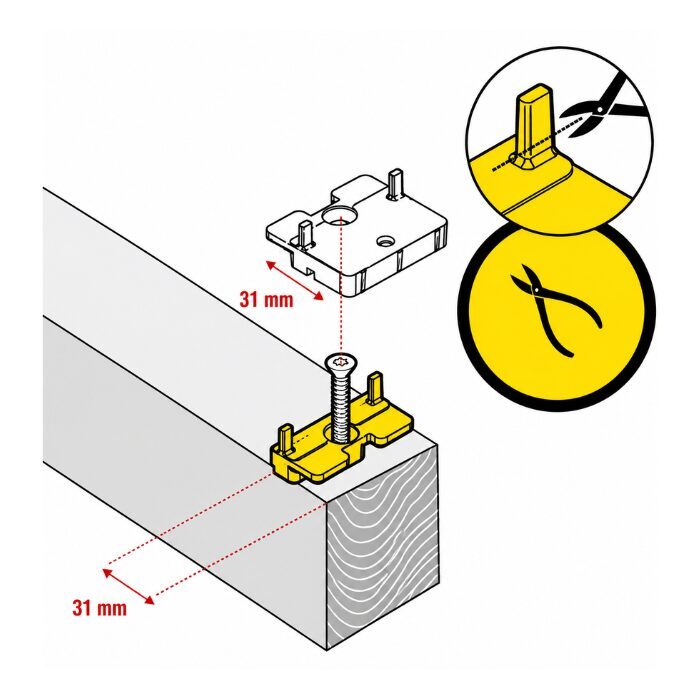
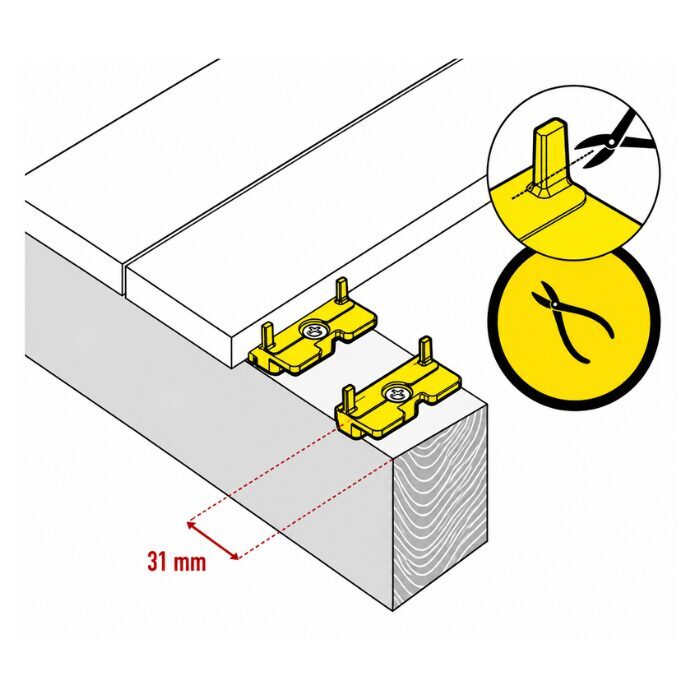
Identification, cutting and preparation of fasteners for use in installation.
STEP 3
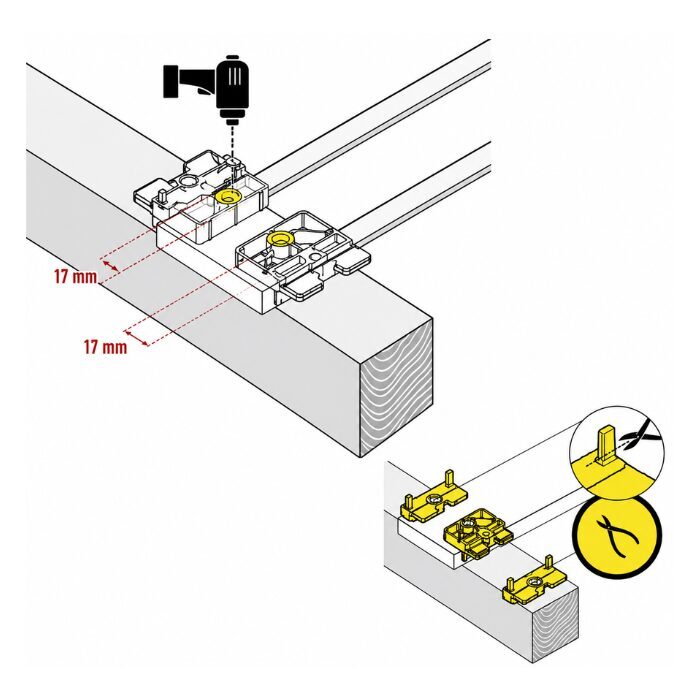
Pre-drilling and initial placement of the fasteners on the battens with precision.
STEP 4
Marking and pre-drilling of the first slat to ensure correct alignment.
STEP 5
Placement and screwing of the first slat onto the base structure.
STEP 6
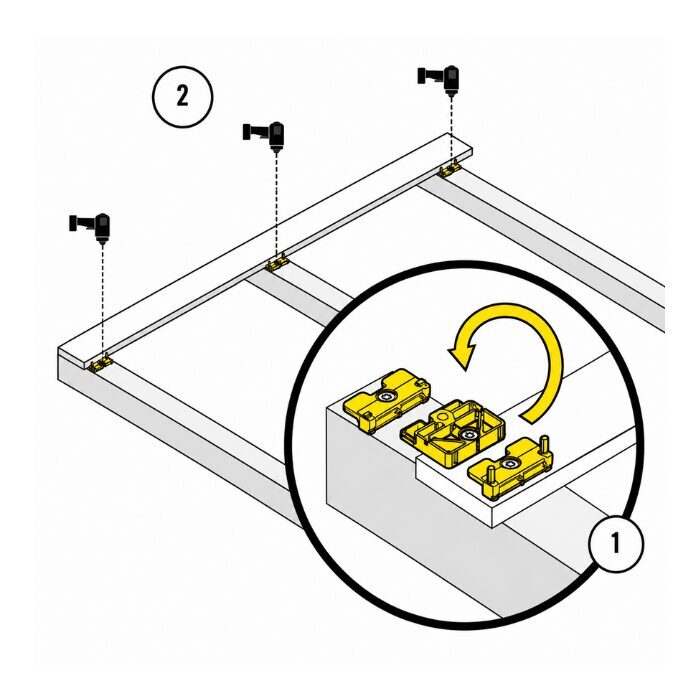
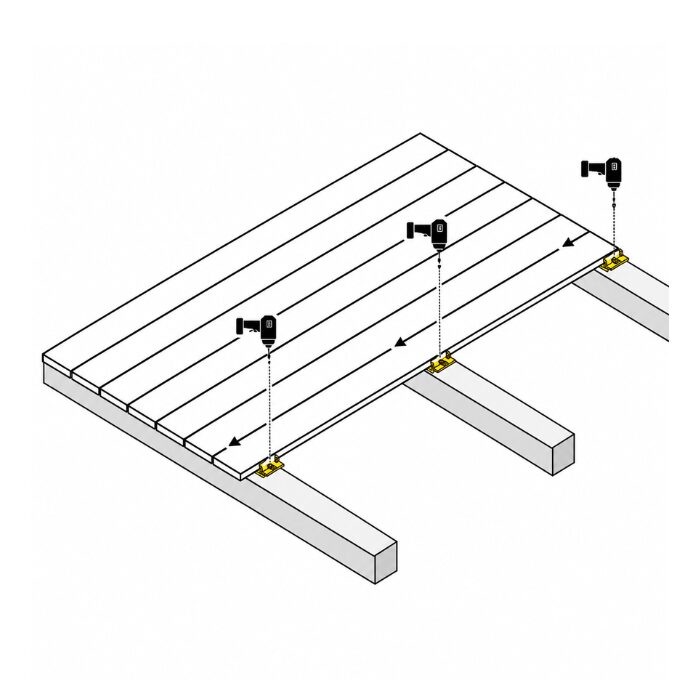
Pre-assembly of fixings on all slats to speed up installation.
STEP 7
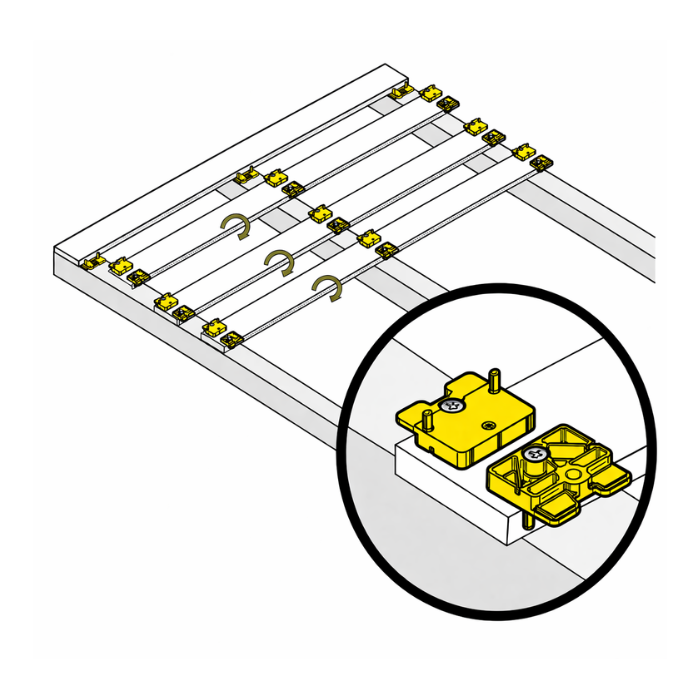
Progressive installation of the slats maintaining uniform separation between them.
STEP 8
Adjustment of fixings at the end before placing the last slat.
STEP 9
Installation and securing of the last slat with corresponding fasteners.
STEP 10
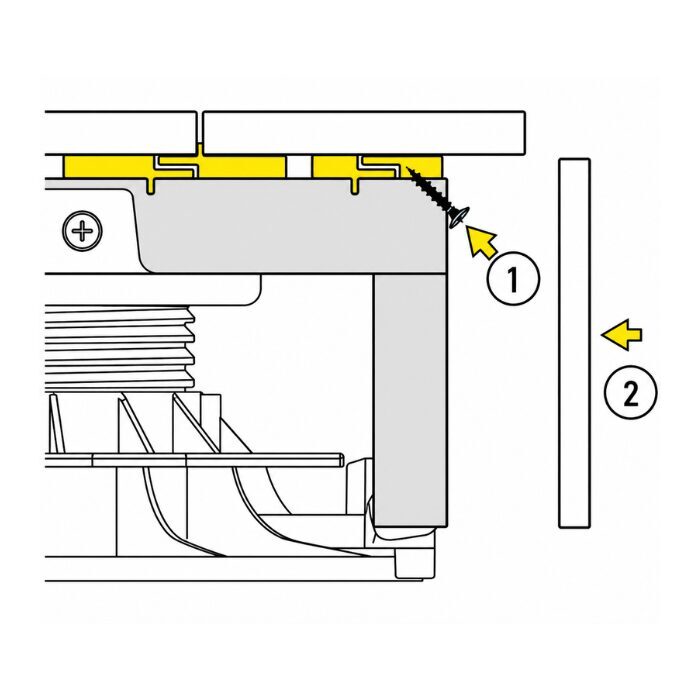
Perimeter finish and final fixing to ensure stability and aesthetics of the whole.